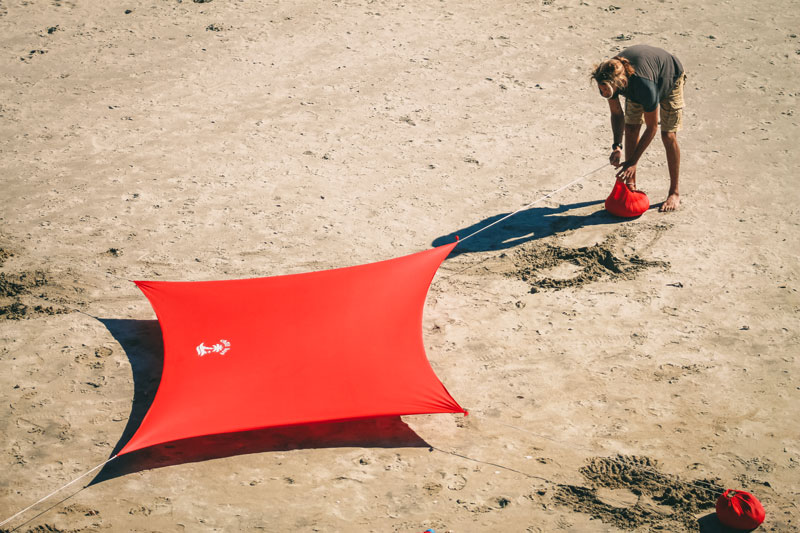
STEP 1.
Spread the tent, ropes and sand anchors flat on the sand in a ‘X’ shape

STEP 2.
Fill the sand anchors as much as possible and pull the rope to close

STEP 3.
Fully stretch the X shape by moving the anchors

STEP 4.
Assemble the poles and locate them about half a foot from the corners. It is essential that you face the opening towards the wind
Enjoy!
Tips and Tricks:
- Check the wind direction and make sure the opening is facing towards the wind so that air can flow through the hut
- The sand anchors are made from super stretchy lycra, so fill them up as much as possible! The more sand in the bags the more stable the huts will be.
- Before you pop up the tent make sure the fabric is gently stretched in the X shape. You may have to relocate the sand anchors until you get a perfectly stretched X shape.
- In very windy conditions, you may want to bury the sand anchors to ensure complete stability.
- To assemble the poles just hold the top part (near the sponge ball) and let them assemble themselves.
- In windy conditions, you can slightly angle the poles to brace the wind.
- When packing up your hut, fold the poles and put them in their case. You can then fold the hut (with the empty sand anchors inside) and roll it around the poles to ensure you chill hut fits perfectly back in its case.
- While using your Chill Hut put everything that’s left out into your carry bag and tie your carry bag to one of the strings so you don’t lose it!

All of our Chill Huts are made of Super Stretchy UPF 50+ fabric certified to Australian and New Zealand standards.

Bear in mind that the sun protection given from our Chill Huts should not replace personal sun protection and we urge Chill Hut users to also use quality sun creams.


